TM 5-6630-215-12
accumulate in the cell,
scrub lightly with a small brush and household
type cleanser.
Make sure any accumulation is removed from the silvery
metal electrode disc in the cell cup.
(b) Internal Standard:
A factory determined value for the in-
ternal standard reading appears on the calibration label located on
the bottom of each instrument.
To check instruments calibration, set
the selector switch to “S” and press the button.
If the reading on
the “S” position does not correspond with the internal standard value
on the label,
adjust the master calibration control.
It is housed
within the case for protection but
hole in the bottom.
easily accessible through a finger-
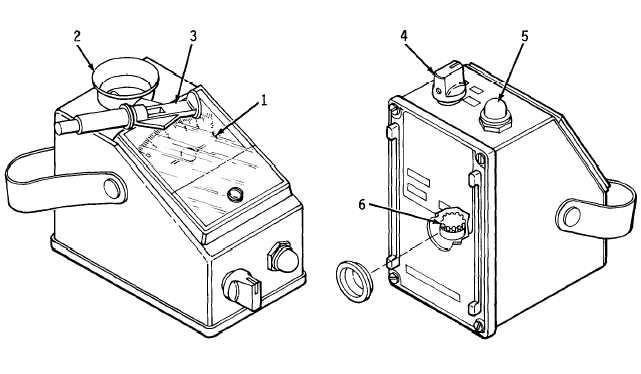
Figure 2-17.
C o n d u c t i v i t y M e t e r, T o t a l D i s s o l v e d S o l i d s,
with RE10 Range Extender
Change 1
2-69

