TM 5-4610-218-34
(4) Position the bridge rail assembly (with
d. Clean, Inspect and Repair.
attached drive components) on the erdlator tank.
(1) Clean all parts with dry cleaning sol-
vent P-D-680. If necessary, use a wire brush to
(5) Connect the two halves of the flexible
remove rust or foreign matter from the shaft
coupling with the chain and install the dust
bearing support.
cover as shown in figure 4-8.
(2) Inspect the stub shaft and shaft bearing
(6) Connect the aspirator manifold assem-
support for cracks, an excessively worn stub
bly to the raw water piping at the union, figure
shaft, stripped or damages threads, and other
4-8.
damage.
(7) Secure the downcomer tube to the
(3) Replace all unserviceable parts. Inspect
bridge rail assembly with the nuts, washers, and
the parts of the agitator shaft and disks for
screws at the points shown in figure 4-7.
cracks and distortion. Straighten minor dis-
tortion or replace if otherwise unserviceable.
(8) Install the effluent launder connecting
tube and adjustable support rods as shown in
e. Reassembly. Reassemble the agitator shaft
bearing support as shown in figure 4-9.
f. Installation.
(9) Install the electrical cable clamps and
secure cables to the bridge rail assembly.
(1) Install the erdlator agitator shaft bear-
(10) Refer to figure 4-5 and make all elec-
ing support as shown in figure 4-9.
trical connections to the erdlator agitator drive
(2) Lower the downcomer tube through the
motor.
van body roof hatch opening down into the er-
NOTE
dlator tank.
The erdlator agitator shaft bearing
(3) Lower the agitator shaft through the
support must be submerged in water
van body roof hatch opening and position it in-
before attempting to operate the unit.
side the downcomer tube.
Section IV. LOW WATER LEVEL WARNING BUZZER
4-4. Low Water Level Warning Buzzer.
a. General. The low water level warning
buzzer is mounted in the upper right corner of
the electrical control cabinet. It is connected to
the stepdown transformer. The buzzer requires
alternating current of the voltage and frequency
specified on the unit. Do not connect it to any
other circuit.
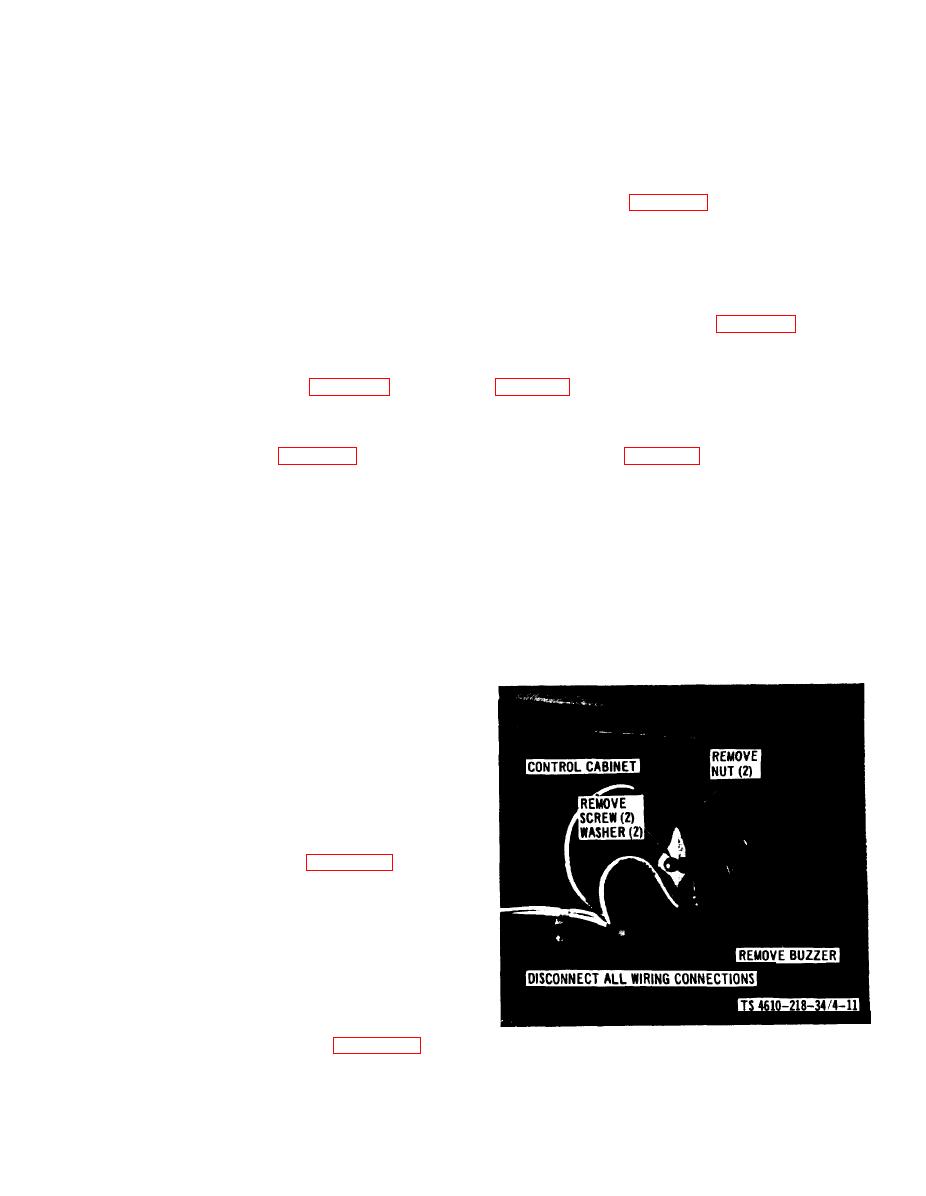
b. Removal. Remove the low water level
warning buzzer as shown in figure 4-11.
c. Clean, Inspect and Replace.
(1) Clean the buzzer with a clean dry cloth.
(2) Test the buzzer by connecting it to a cir-
cuit of the correct voltage.
(3) Replace the buzzer if it fails to operate.
d. Installation. Install the low water level
warning buzzer as illustrated in figure 4-11.
4-9


