TM 10-4610-239-24
TM 08580B-24/3
e. Repair threads that are damaged and cannot be restored by installing a helical coil insert. The
following gives standard procedures for installation of a helical coil insert and removal of a previous
installed damaged one. The following tools are required:
f.
Tool Kit (Appx B, Sect III, Item 10)
Helicoil repair kit (Appx B, Sect III, Item 7)
Machinist scriber (Appx B, Sect III, Items 6 and 9)
Tap handle (Appx B, Sect II, Items 6 and 9)
Depth micrometer (Appx B, Sect III, Items 6 and 9)
Vernier caliper (Appx B, Sect III, Items 6 and 9)
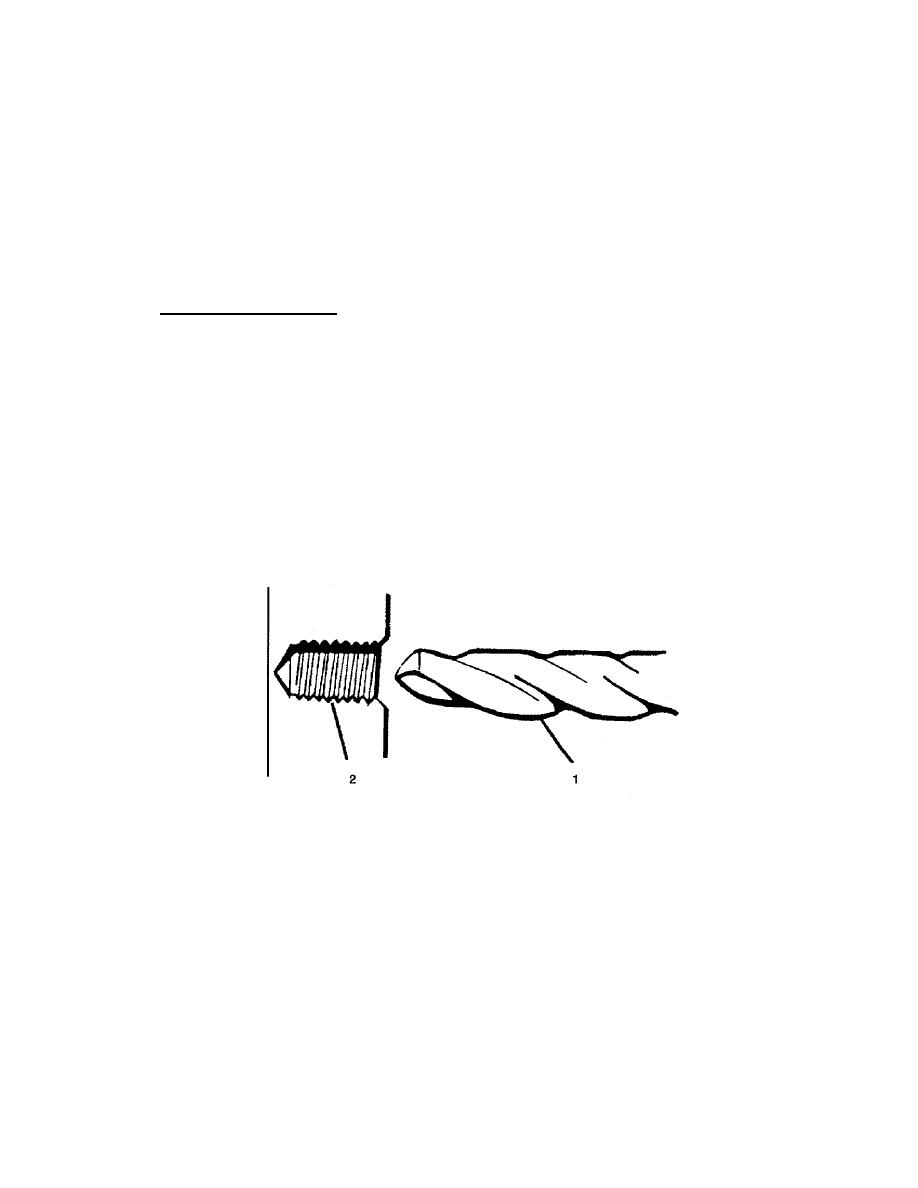
(1) Installing helical coil insert.
(a) Using portable electric drill, vernier caliper, and step drill (1); bore out damaged threads (2)
to original depth.
WARNING
Compressed air can blow into the eyes. Wear eye protection.
Do not exceed 30 psi (207 kPa) air pressure.
NOTE
All sizes for tools and helicoils depend on original bolt size.
Refer to repair kit.
(b) Clean newly bored hole using compressed air.
(c)
Coat thread cutting tap (3) with transmission oil.
(d) Using tap wrench and tap, cut threads until tap bottoms.
2-55


