TM 10-4610-310-14
0008 00
RAW WATER PUMP SETUP continued
4. Fill the sand bag with rocks or other heavy material that will sink (i.e., gravel, sand, dirt, etc.).
5. Cinch the bag closed and tie it shut with the string on the bag. Loop the string through the carabineer. The
carabineer is located in the BII box.
6. Loop the rope from the BII box through the carabineer and tie it to the raw water strainer.
WARNING
Personnel must wear protective equipment if entering the source water for any reason to set
up the strainer. Injury or death may result if proper safety procedures are not followed.
7. Allow the rope sufficient slack before throwing or walking the sand bag to desired location.
8. Put on the Personnel Floatation Device (PFD) from the BII if it is necessary for personnel to enter the water.
9. Place the sand bag in desired location in the raw water source.
10. Pull the untied end of the rope through the carabiner which will result in raw water strainer and hoses being
pulled to the sand bag.
11. After the strainer is in location, tie the rope to an immovable object such as a tree so the strainer can be
retrieved when needed.
12. Ensure that the strainer will be drawing water from just below the surface of the source.
INITIAL START
WARNING
Hearing protection must be worn at all times when operating within 17 feet (5.18 meter)
radius of the diesel engine.
1. Perform Preventive Maintenance Checks and Services (PMCS) according to TM 9-6115-639-13.
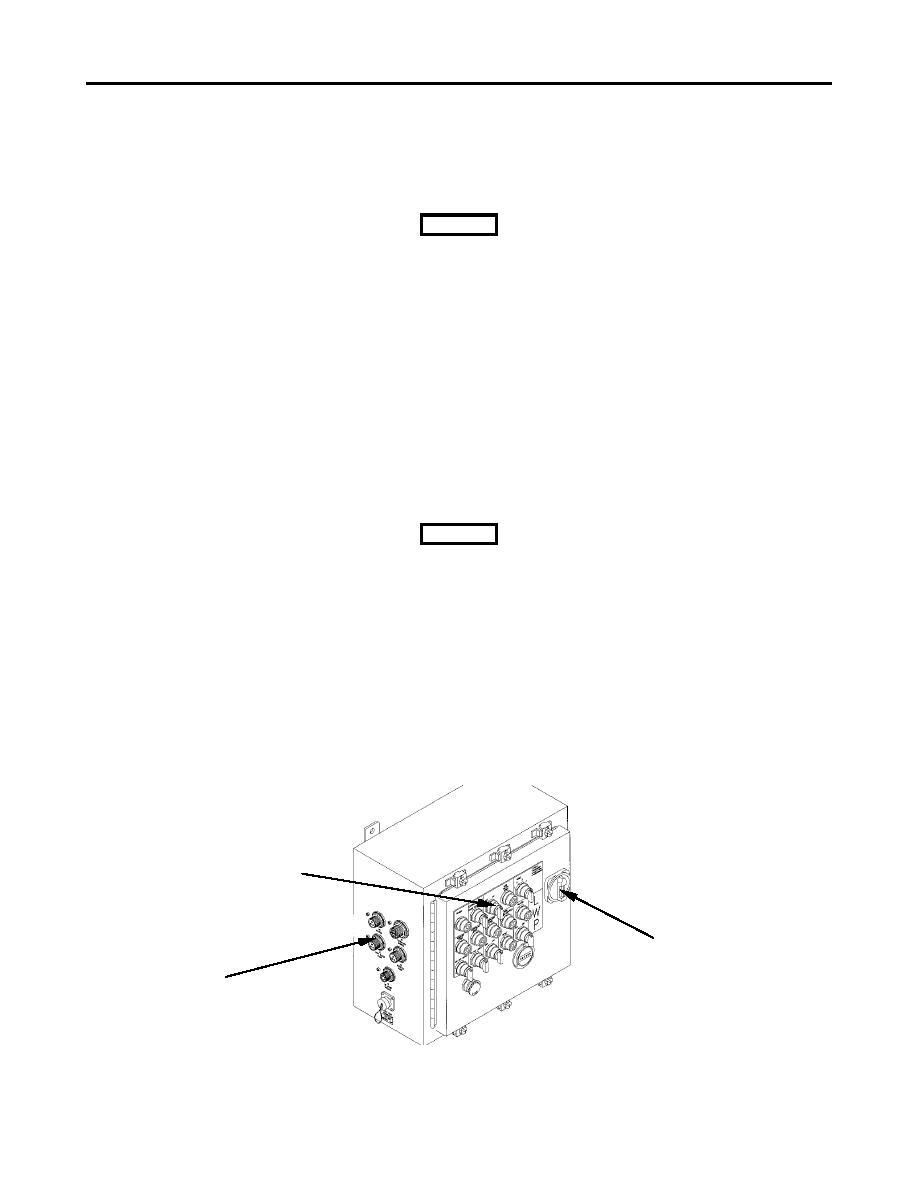
2. Connect the raw water pump cable from receptacle on raw water pump to receptacle J2 on control module.
Make sure all electrical connections are tightened securely and hand tightened only. See Figure 13.
3. Start the 3kW TQG set according to TM 9-6115-639-13.
4. Ensure that none of the hoses are kinked or will become kinked when filled with water.
5. Place the main circuit breaker CB1 on the control module in the ON position. See Figure 13.
6. The blue POWER light should turn on.
RAW WATER
PUMP SWITCH
CIRCUIT
BREAKER
RAW WATER
CB1
SERVICE
HANDLE
PUMP
CONNECTOR
Figure 13. Control Module.


